Like so many families forced to switch to working and schooling from home during the COVID-19 pandemic, we were no different. The ‘unfortunate’ thing about being in the design profession and being stuck at home was that there was no shortage of ideas for how things could be improved.
Living in a 1926 house, however, helped to guide the choice as to which improvements fell in the must-have column and which improvements would go into the nice-to-have column.
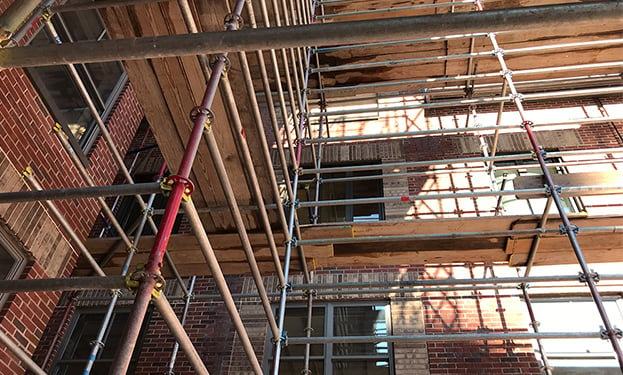
The number one priority became installing central air conditioning which would make sequestering in our respective corners bearable. Multiple daily Zoom meetings with the roar of window air conditioners just wouldn’t cut it. Fortunately, the second floor of our house, where we are working all day and sleeping at night, would be relatively easy to supply with cool air from the full attic above. The most challenging aspect of the AC installation was cutting through the wire lath plaster ceiling which was 1-1/2” thick in places. Anyone who lives in an older house with plaster ceilings should invest in as many light-weight plastic painter’s tarps and rolls of tape that they can get! Even with a shop-vac held right near the carbide tipped cutting tool, fine dust will find its way everywhere.
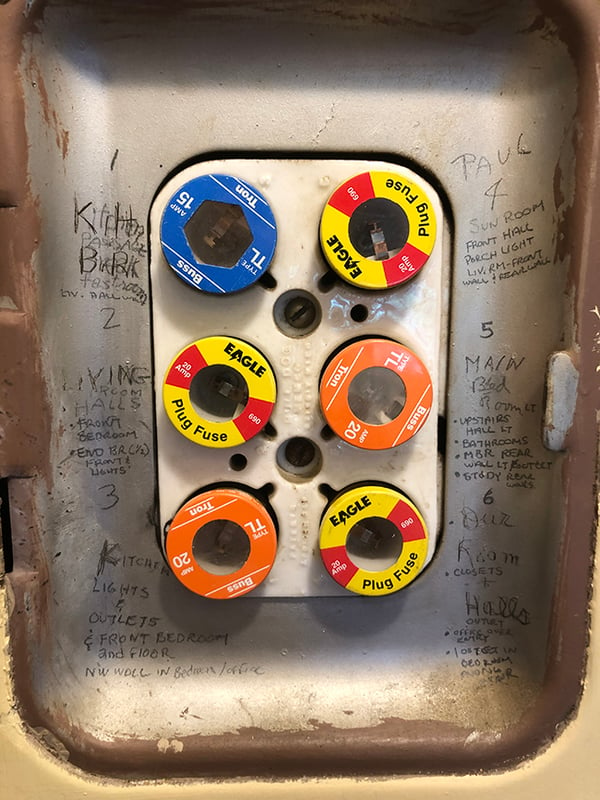
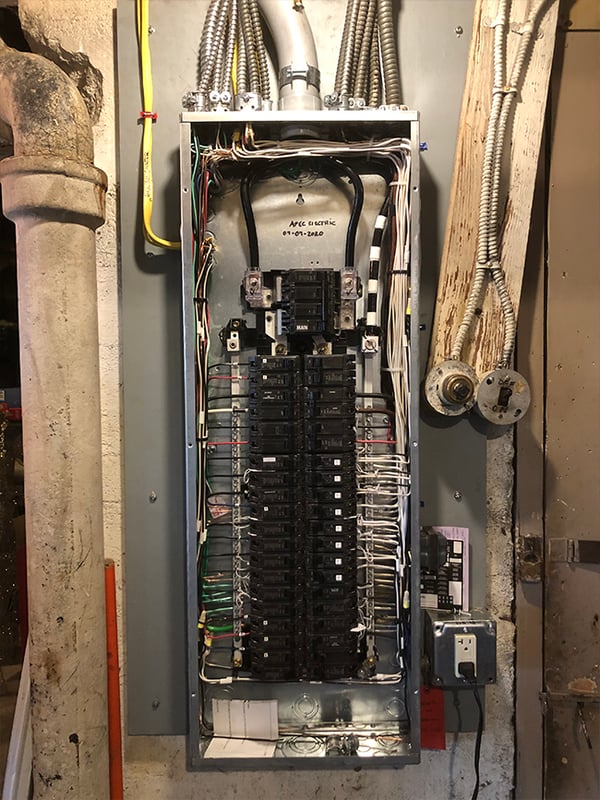
Starting a project in an older house though is a bit like pulling on a thread in your favorite sweater. Before you know it, what started out as a simple thing becomes a major undertaking. The thread that was pulled in our case was connected to the electrical system. While a ‘major’ electrical upgrade was undertaken in 1960, the size of the service was inadequate for adding the AC, and some of the original wiring was still being fed through a fuse panel in the kitchen. An upgraded service was needed to provide the additional power, meaning a new breaker panel in the basement and a new meter and service wire on the exterior. Let the fun begin.
A frustrating thing about renovating an older home is understanding the costs associated with addressing things behind the scenes. It is fairly easy for people to digest the cost for a fancy appliance or exotic tiles for the walls of their kitchen or bathroom renovations. But spending thousands of dollars on things you hopefully never interact with is another matter. The cost of the electrical upgrades meant that we opted to just do the second floor of the house for now. In the future, we can address the first floor, but a window unit in the kitchen will suffice for the time being.
Working from home due to the pandemic helped me gain better insight into what it actually takes to swap out an electrical service. While we review cost proposals as a matter of course on our projects, there is no substitute for seeing what is involved on a daily basis, first-hand. Like many people starting out a project, I asked around for a recommendation. A friend who is a retired electrician recommended Joseph Fontanella of APEC Electric in Durham. Joe is a great guy and was willing to have me be his ‘apprentice’ throughout the project, allowing me to provide some basic labor (demolition of the old service and help pulling the new service cables) as well as doing the rough-in for some additional outlets in the house. Fortunately, I have enough rudimentary carpentry skills that I can cut holes in walls.
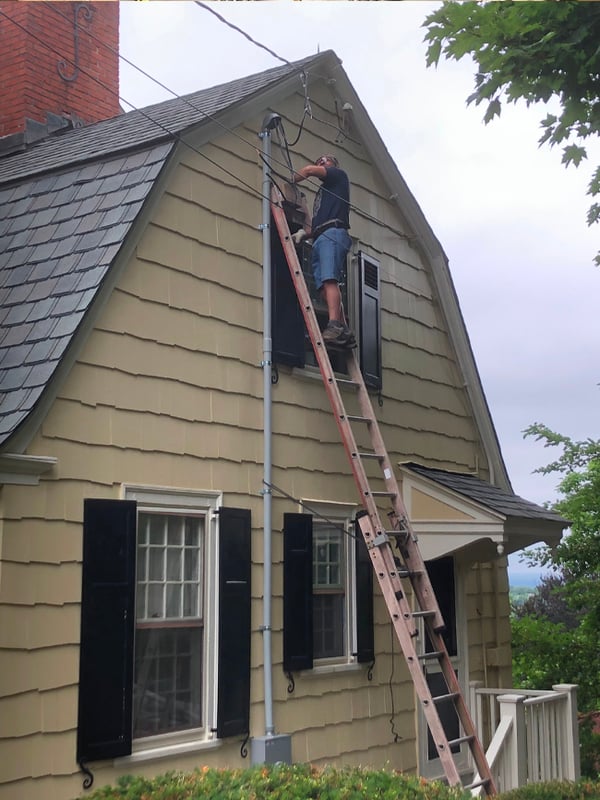
Whenever a new service is installed, it is necessary to meet the current electrical code requirements, which inevitably add to the cost of the project. In my case, this meant that the panel had to move to a different wall in the basement to be clear of the water main and the steam pipes. The meter on the exterior of the house needed to be a larger unit which has specific clearance requirements including being away from things like gas meters or oil tank piping, which meant I also had to relocate where the service was entering the house. Oh, and we would also have to remove the old conduit, meter and wiring and panels both inside and on the exterior of the house. Demo takes time which adds cost. Fortunately, the only location in the basement that met the current code requirements was in an area that allowed most of the existing wiring circuits to reach the new panel without having to add a lot of junction boxes throughout the basement to extend the wiring. Extending wiring takes time, but so does cutting the steel armor on the cables used in older houses. Today, armored cable is typically limited to use in commercial spaces and the new armor is made of aluminum which is a lot faster to cut. Multiple new runs were also required from the old fuse panel wiring in the kitchen back to the new panel. This not only eliminated the fuses and their inherent risks but ensured that each of the 6 original house circuits were on their own breaker.
Another requirement of the code is to correctly label what is on each circuit breaker. I had already traced each circuit over the years and labeled the old panels which saved a lot of time that the electrician otherwise would have had to spend investigating. I also was able to investigate where we could snake lines up into the attic for the new AC equipment and for future circuits to the second floor. Since the electrician was already going to be on site, I cut in and rough wired a number of new electrical outlets throughout the kitchen and first floor to bring those areas up to code and to avoid blowing a breaker whenever the microwave and coffee maker were accidentally being used at the same time. This sweat equity ended up saving me about 2-3 days worth of the electrician’s time which was a great cost savings. What came as a total surprise, however, was the cost of the breakers for all of the newly installed circuits. Not only are kitchen outlets required to have ground fault protection, the code now requires all circuits in ‘habitable’ spaces to have Arc Fault protection. This one code requirement means that what used to cost about $5/breaker now costs about $50. It is easy to see how costs quickly add up.
After the electrician transferred all of the old circuits to the new breaker panel, I was able to remove the old panels and the service cable that went to the old meter location. I spent several hours on a Saturday removing the old meter socket and conduit into the house and patching up the hole entering the house. The electrician and I worked together the next day he was there to carefully lower the old service conduit and wiring. It was definitely a two-person job. Running wire to the new outlets required drilling through floor joists and up into walls. In houses with plastered walls, there is often a buildup of the hard scratch coat material at the base of the wall which, in my case, required drilling with a masonry bit and breaking up with a steel rod to make enough room for the wires to get through. What would take a couple of minutes in a newer house with sheetrock walls takes a lot more time in an older home.
In the end, we were able to get our AC installed and up and running in time for the summer’s worst heat, and all of our old and new circuits have been moved to the new breaker panel. It was amazing to watch a professional at work and to understand and appreciate how long it takes to do this type of work. While the cost for these types of behind-the-scenes upgrades will not be cheap, especially in older homes, having it done right brings a lot of peace of mind. I’m glad that I can ‘see’ the 15 new outlets throughout the house, the new panel in the basement and the meter on the exterior on a regular basis. They will remind me of Joe and the hard work that he did making sure our home will be safe for another generation.